Skip links

Installation Guide

Exterior Applications

1. Product Overview

Millennia Stone Flexible Veneer is a lightweight, ultra-thin surface covering made from natural stone powder and inorganic additives. It replicates stone, travertine, slate, rammed earth, wood, and brick finishes, amongst many more. Its flexibility allows installation on flat, curved, and cornered surfaces.

Required adhesives:

  • Must use polymer-modified thin-set mortar.
  • Back-butter veneer sheets for maximum adhesion.
  •  
millennia stone flexible stone interior and exterior cladding

2. Suitable Substrates

  • Plywood or OSB Sheathing with 2 layers WRB + rainscreen.
  • Cement board over framing 
  • Poured concrete walls.
  • Concrete block (CMU).
  • Brick (sound and clean).

Optional Thermal Upgrade:

  • Rigid insulation (EPS, XPS, or mineral wool) may be installed behind rainscreen/cement board to improve R-value.

  • Must be mechanically fastened with furring/strapping to ensure stability.
  •  
Plywood

Plywood

Cement board

Cement board

CMU and Brick wall

CMU and Brick wall

OSB

OSB

3. Tools & Materials

  • Polymer-modified tile adhesive OR polyurethane construction adhesive.
  • Notched trowel (3/8″ or 1/2″).
  • Angle grinder or Utility knife
  • Level, chalk line, measuring tape.
  • Hand roller or rubber float.
  • Sponge, clean cloth.
  • Safety gear.
installation of flexible stone millennia stone

4. Surface Preparation

Masonry Surfaces (Concrete, Block, Brick):

  1. Clean surface of dust, dirt, paint, or sealers.

  2. Roughen smooth concrete if needed.

  3. Repair cracks or voids.

Framed Walls (Wood or Metal Studs):

    1. Install 2 layers of WRB (house wrap/building paper).

    2. Install rainscreen/drainage mat as per local building code.

    3. Optional: install rigid insulation boards for higher thermal resistance.

      • Fasten strapping/furring through insulation into framing.

      • Mount cement board over furring.

    4. Ensure substrate is flat and secure.

installation of flexible stone millennia stone

5. Adhesive Application

  • Tile adhesive: apply thin-set with a notched trowel in workable areas (cover no more than 10–15 minutes’ worth at a time).
  • Polyurethane adhesive: apply lines of adhesive every 4″ on the back of stone, especially close to edges
  •  
installation of flexible stone millennia stone

6. Installing Veneer

  • Press veneer firmly into wall using rubber float

  • Align sheets with chalk line for even layout.

  • Cut around outlets/windows using utility knife or scissors.

  • Butt-joint for seamless look or leave narrow joints for grout.

installation of flexible stone millennia stone

Interested?

Fill out the form below and our team will get back to you in no time

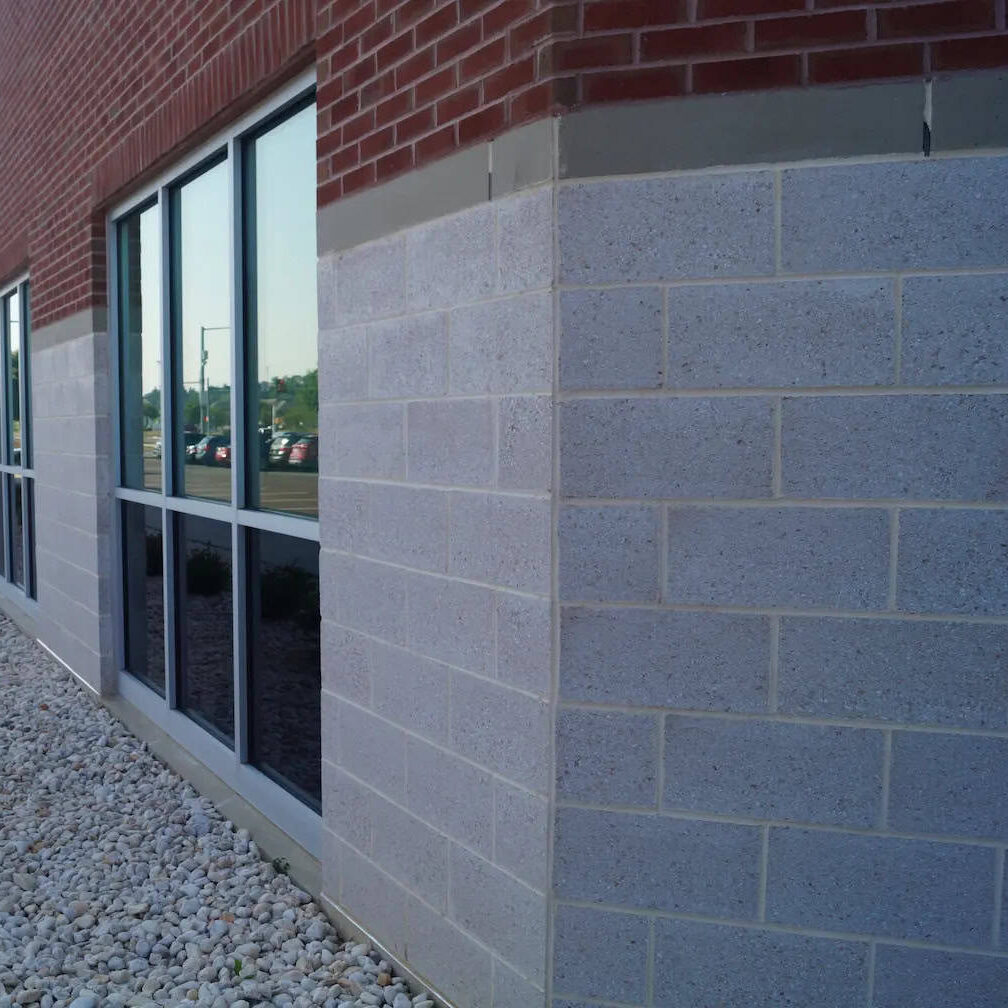
    Classic Veneer Stone: Ideal for creating outdoor walls, patios, and garden features.

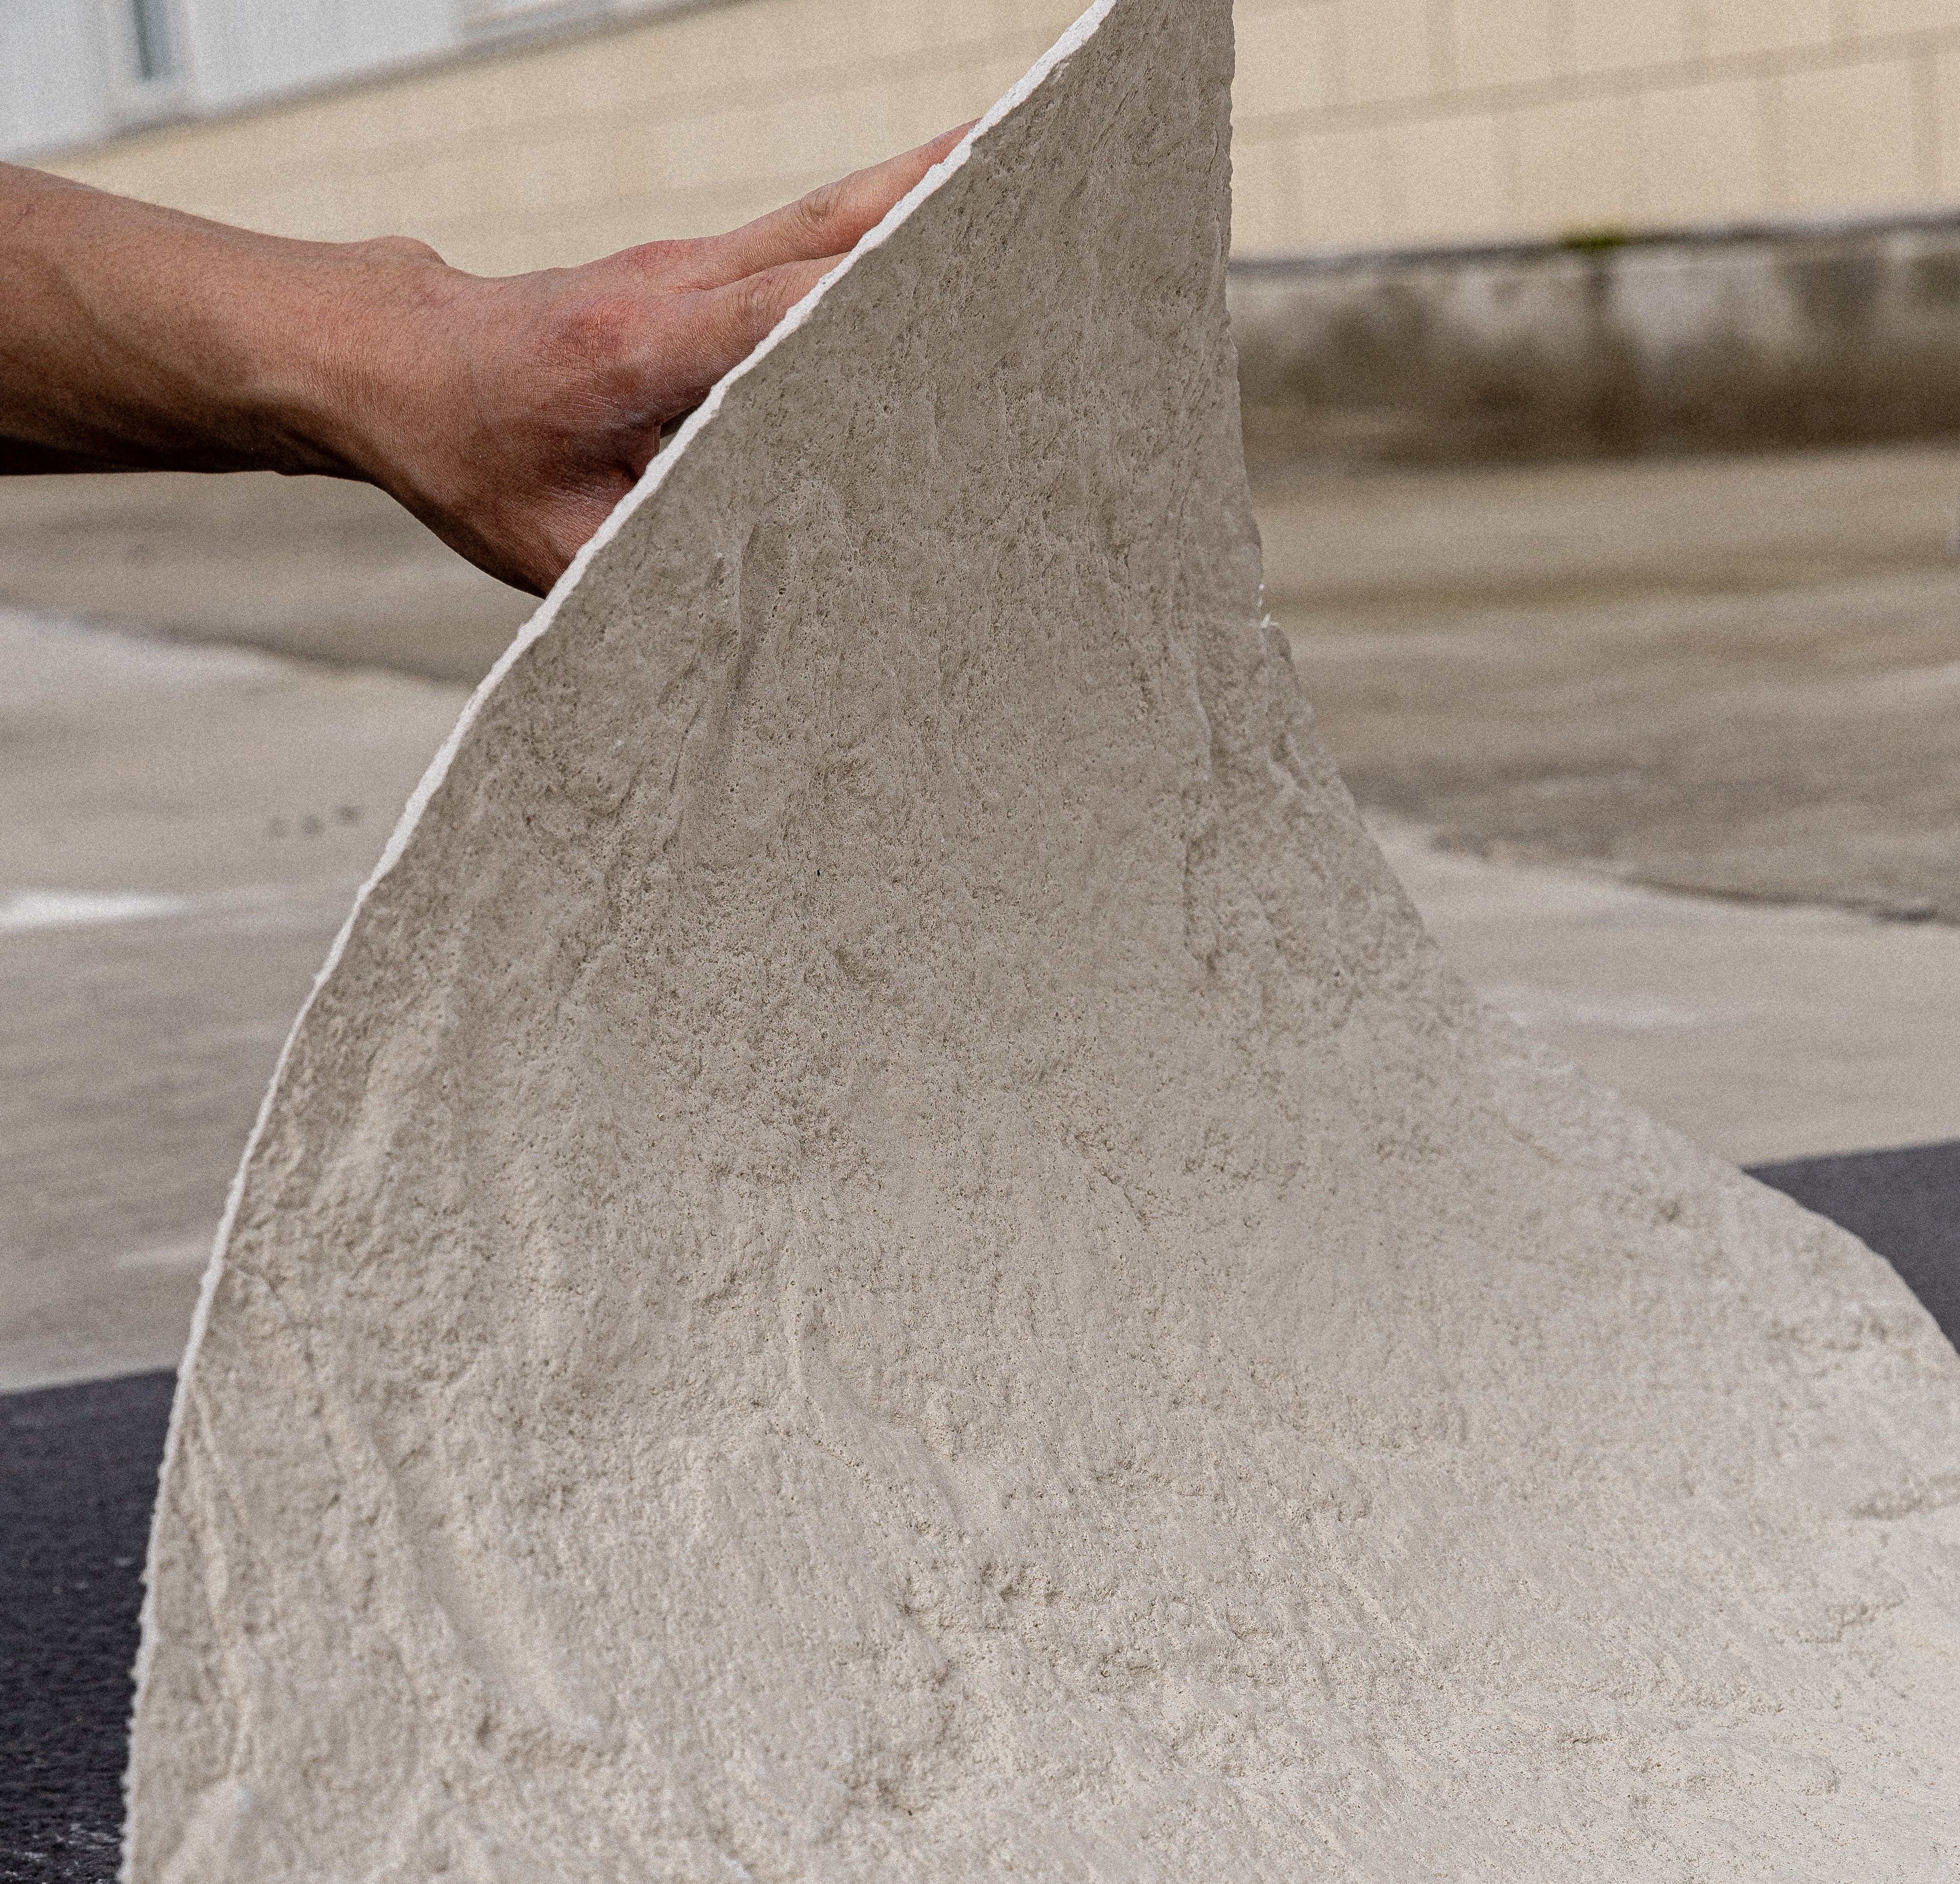
    Flexible Stone (MCM): Perfect for wrapping around outdoor sculptures, curved pathways, and decorative features.

    Classic Veneer Stone: Used for columns, arches, and entryways to add refined detailing.

    Flexible Stone (MCM): Offers flexibility in creating intricate, custom architectural elements and detailing.

    Company

    features

    get started

    MONTHLY Newslatter

    Subscribe to our monthly newletter and stay udated with latest product developments of Millennia Stone